Codeigniter is one of the most popular and lightweight PHP framework till date. Codeigniter is based on MVC design pattern and it requires almost zero configuration. In this tutorial I am going to download and install codeigniter in xampp.
Also Read:
Step 1: Download Codeigniter
Download Codeigniter from its official site (https://codeigniter.com/download). Right now there are two version of codeigniter (3.x, 2.x) on download page. I personally recommend to download Codeigniter 3.x version. Because 3.x version, there have been a number of refinements since 2.x version.
Step 2: Extract Codeigniter Files
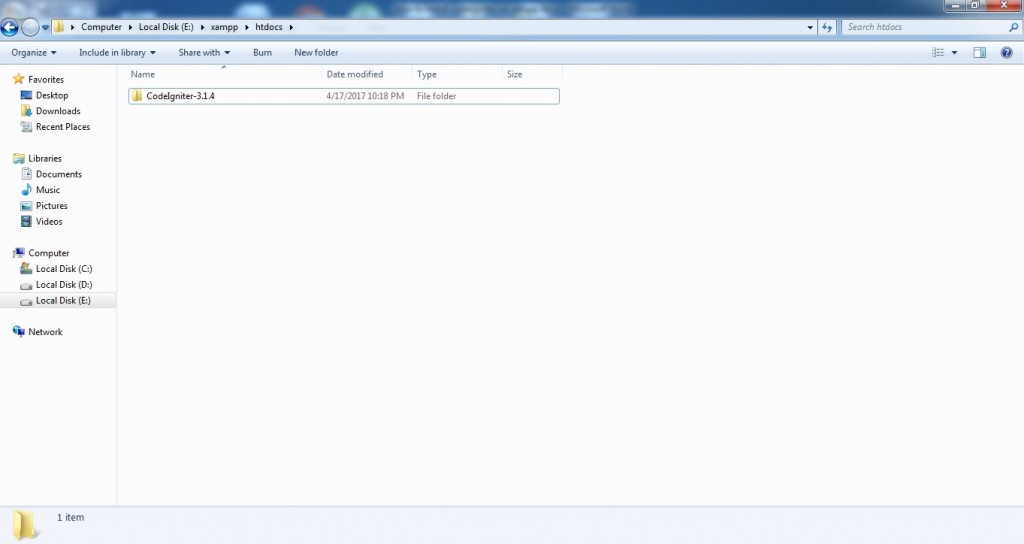
Extract downloaded zip folder into the xampp/htdocs folder.
Rename folder according to your project name. I am going to change folder name with demo
Step 3: Set Base Url
Open config.php file located in application/config folder and set value of $config['base_url']. In our example base url will be http://localhost/demo/
|
1 |
$config['base_url'] = 'http://localhost/demo/'; |
Step 4: Test Localhost Url
Go to your browser and hit localhost/demo. You will see below screen.
Step 5: Change default Controller in Routes
Change default controller in application/config/routes.php. By default welcome controller is set in default_controller that’s why you get welcome screen. You can set any controller to default controller depends on your codeigniter application. If you will be creating blog or website then default controller must be one which redirects user to home page. If you are creating an application in which user have to sign in first then your default controller must be login controller. In routes.php you can also define URL routes. For more details you can visit URI Routing page of codeigniter documentation.
|
1 |
$route['default_controller'] = 'welcome'; |
Step 6: Add database Credentials
Add database credentials in application/config/database.php file. $db['default'] is an array holding database credentials.
|
1 2 3 4 5 6 7 8 9 10 11 12 13 14 15 16 17 18 19 20 21 |
$db['default'] = array( 'dsn' => '', 'hostname' => 'localhost', 'username' => 'root', 'password' => '', 'database' => 'demo', 'dbdriver' => 'mysqli', 'dbprefix' => '', 'pconnect' => FALSE, 'db_debug' => (ENVIRONMENT !== 'production'), 'cache_on' => FALSE, 'cachedir' => '', 'char_set' => 'utf8', 'dbcollat' => 'utf8_general_ci', 'swap_pre' => '', 'encrypt' => FALSE, 'compress' => FALSE, 'stricton' => FALSE, 'failover' => array(), 'save_queries' => TRUE ); |
Step 6: Auto load Helpers and Libraries
I can add helpers and libraries in controller and model. But it is better to auto load some helpers and libraries which I am going to use throughout my application. Database and Session are one of the key elements of almost every application. So I am going to add both of these libraries in my application/config/autoload.php file.
|
1 |
$autoload['libraries'] = array('database', 'session'); |
At some point I need to get the URL either to add active or inactive CSS class in my application nav menu or just to verify in what controller and function I am standing in. Codeigniter URL helper will do that for me so I will also auto load this helper.
|
1 |
$autoload['helper'] = array('url'); |


