In this tutorial I am going to show you “How to install composer on Windows 10”.
Before installing composer first we need to alter php.ini file. Open php.ini file and remove semi colon in the beginning of the following extensions.
How to install composer on Windows 10
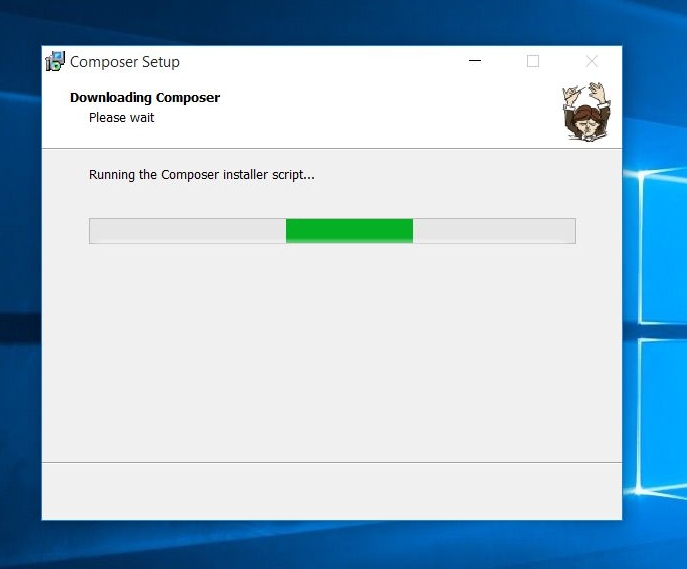
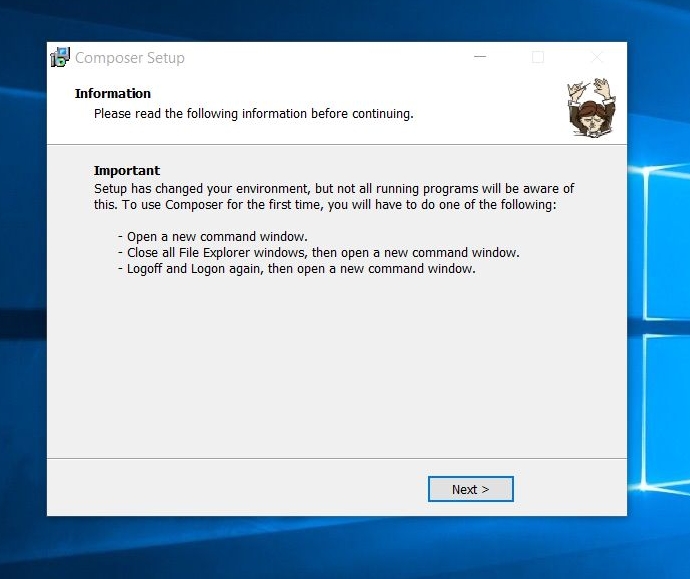
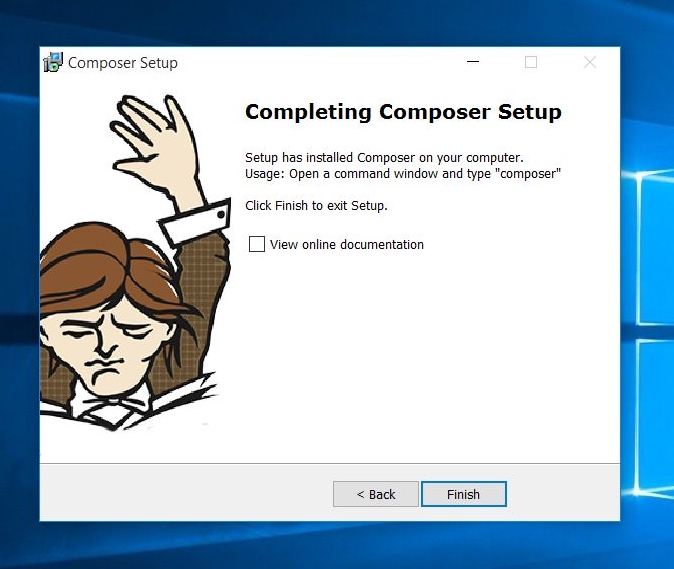
First you have to download the composer.exe file from getcomposer.org. After downloading run the composer.exe file and follow below steps.
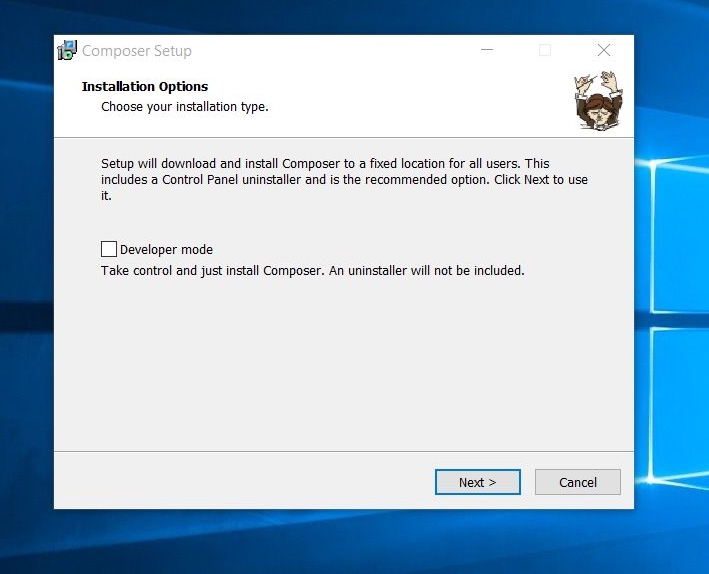
Do not check the Developer mode right now. Because it is your first time you may want to uninstall composer later if anything goes wrong.
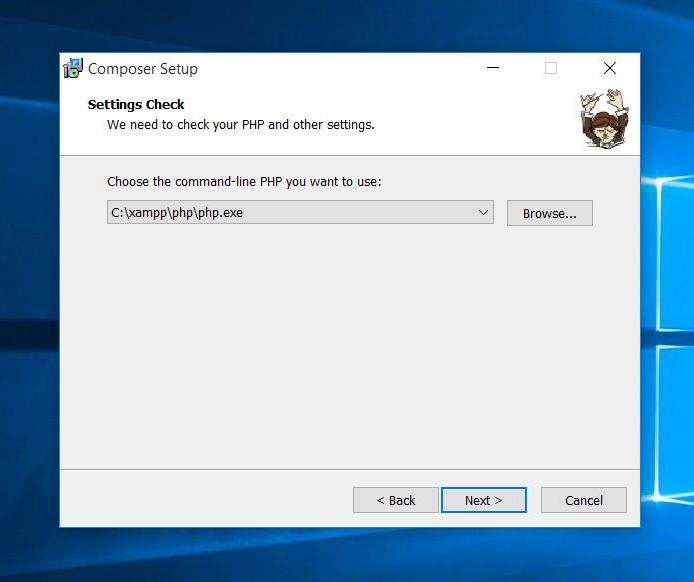
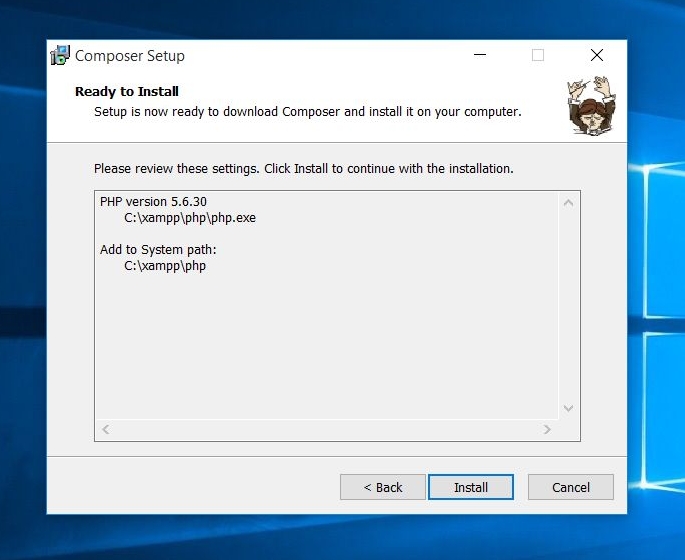
In this step you have to add php.exe path so that composer can check and it’s setting with PHP. I am using XAMPP for my local development and XAMPP is installed oin C: drive in my laptop that’s why it is showing C:\xampp\php\php.exe.
Also Read: How to install Xampp on Local Machine
If you have installed PHP separately in C: drive then your address may be C:\Program Files\PHP\php.ini-production or C:\Program Files\PHP\php.ini
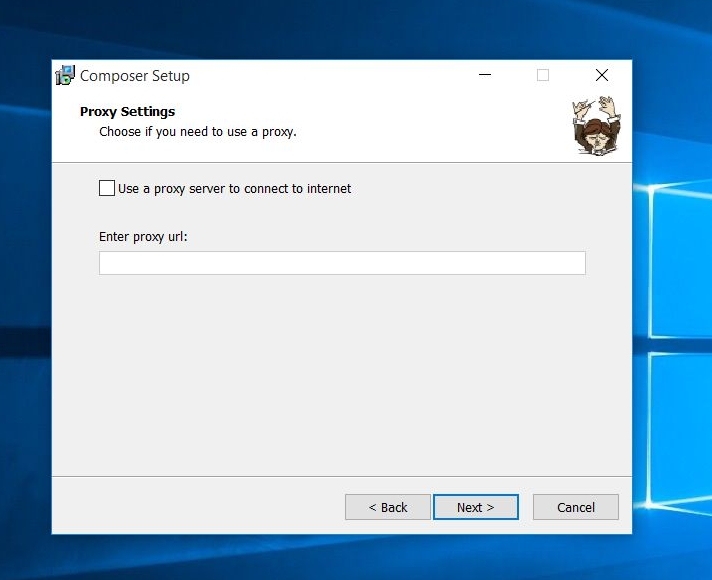
If you want to enter any proxy url you can write it here but right now you do not need any composer proxy settings. So leave ‘Enter proxy url’ blank and click on next button.
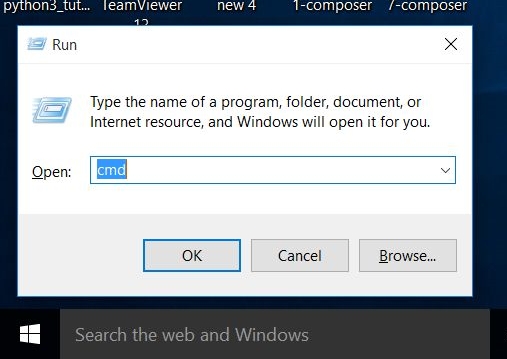
Now press window key + R and type cmd to open command prompt
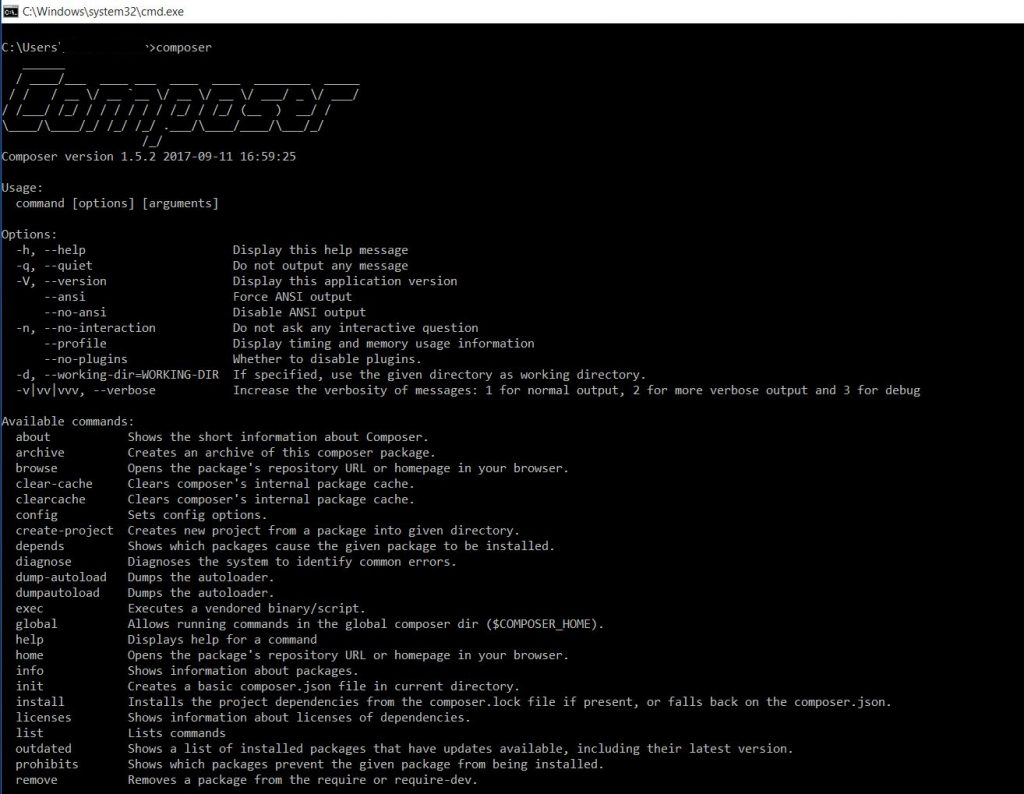
When command prompt opened, type composer and you will see composer heading and its list of commands just like below. Congratulation you have successfully installed composer on windows 10.

Thank you for this!